DIY Kitchen Decor Signs The Charm of Personalized Decor
Kitchens are often the heart of the home, a place where we gather, cook, and share meals with loved ones. Decorating this space in a way that reflects your personality and style can significantly enhance its warmth and appeal. DIY kitchen decor signs offer a fantastic opportunity to infuse your kitchen with character, making it a more inviting and enjoyable environment. They allow you to express your creativity, add a personal touch, and create a space that truly feels like your own. The beauty of DIY projects lies in their versatility; you can customize everything to perfectly match your kitchen’s aesthetic and your personal preferences.
Finding Inspiration Where to Start for DIY Kitchen Decor Signs
Before diving into the crafting process, gather inspiration. Explore online platforms like Pinterest, Instagram, and design blogs to discover various styles, materials, and quotes that resonate with you. Consider the existing decor in your kitchen. Is it rustic, modern, farmhouse, or eclectic? Your DIY signs should complement your current aesthetic. Pay attention to color palettes, fonts, and materials used in the kitchens that inspire you. Think about the messages you want your signs to convey. Do you want to share funny quotes, display recipes, or simply add decorative elements? Start a mood board or a collection of ideas to refine your vision before beginning the project. This preparatory step will ensure that your DIY kitchen decor signs blend seamlessly with your overall kitchen design.
Gathering Supplies What You’ll Need

The supplies needed for DIY kitchen decor signs can vary greatly depending on the chosen style and project complexity. However, some general items are essential for any DIY endeavor. Begin by creating a comprehensive list of the required materials. This list should include the base materials such as wood planks, canvases, or metal sheets, depending on your design. Additionally, include paint, stains, stencils, vinyl lettering, or transfer paper for adding designs and text. Don’t forget to procure essential tools like paintbrushes, rollers, cutting tools, and adhesive. Accurate measurement tools such as rulers or measuring tapes are also crucial for precision. Consider the surface preparation materials such as sandpaper or primer, which are vital to ensure that the paint adheres smoothly and evenly to your chosen surface. Careful preparation can transform any project into a refined masterpiece.
Essential Materials for DIY Kitchen Decor Signs
The selection of materials heavily influences the look and durability of your DIY kitchen decor signs. Wood remains a classic choice. You can use reclaimed wood for a rustic charm, pine or plywood for ease of use, or even cedar for its natural resistance to moisture. For a more modern feel, consider metal sheets, which can be personalized with paint or vinyl. Canvases provide a versatile base for painting or stenciling. The type of paint is also crucial. Acrylic paints are suitable for most projects and dry quickly. Chalk paint lends a vintage touch, while spray paint can create a smooth, professional finish. High-quality adhesive, whether glue or screws, is essential for assembling the signs. Lastly, decorative elements like ribbon, twine, or small embellishments can add a unique touch to your signs.
Must-Have Tools for Creating Kitchen Signs
Having the right tools makes any DIY project smoother and more enjoyable. A saw (hand saw or power saw) is essential for cutting wood to the required sizes. A drill is handy for creating holes or securing components. Sandpaper (various grits) is necessary for smoothing the wood’s surface and preparing it for painting. Paintbrushes in various sizes are indispensable for applying paint and creating intricate designs. Stencils or a Cricut machine can help in creating professional-looking lettering or designs. A measuring tape and a ruler are crucial for accurate measurements and ensuring your signs are proportional. A level helps ensure your signs hang straight, preventing an unprofessional look. Finally, safety equipment, such as safety glasses and gloves, is always recommended to protect yourself while crafting.
Top 10 DIY Kitchen Decor Sign Ideas

Charming Wooden Signs
Wooden signs are versatile and timeless, fitting seamlessly into various kitchen decor themes. Begin with a wooden plank, then paint it in your chosen color. Add text with stencils, freehand painting, or vinyl lettering. For a rustic look, consider distressing the wood by sanding the edges. Popular quotes include phrases about cooking, family, or humor related to food. You can further enhance the sign by adding decorative elements like small wooden utensils, faux greenery, or twine.
Rustic Chalkboard Signs
Chalkboard signs offer flexibility, as you can change the message as often as you like. Paint a wooden board with chalkboard paint. Frame the board with reclaimed wood for an added rustic touch. Use chalk or chalk markers to write recipes, daily menus, or inspiring quotes. You can also use stencils to create precise lettering. These signs can be wiped clean and refreshed regularly, offering a dynamic element to your kitchen decor. Enhance them by adding a shelf to hold chalk or small decorative items.
Elegant Metal Lettering Signs

For a modern aesthetic, use metal lettering or cut-out words. Attach these letters to a wooden backing or directly to the wall. Popular phrases include ‘Eat’, ‘Gather’, or individual names. You can paint the metal letters or leave them raw for an industrial feel. Consider using metallic paint for a sophisticated look or incorporate LED lights to add a touch of glamour to your kitchen. This style often works well in contemporary or minimalist kitchens.
Quirky Quote Signs
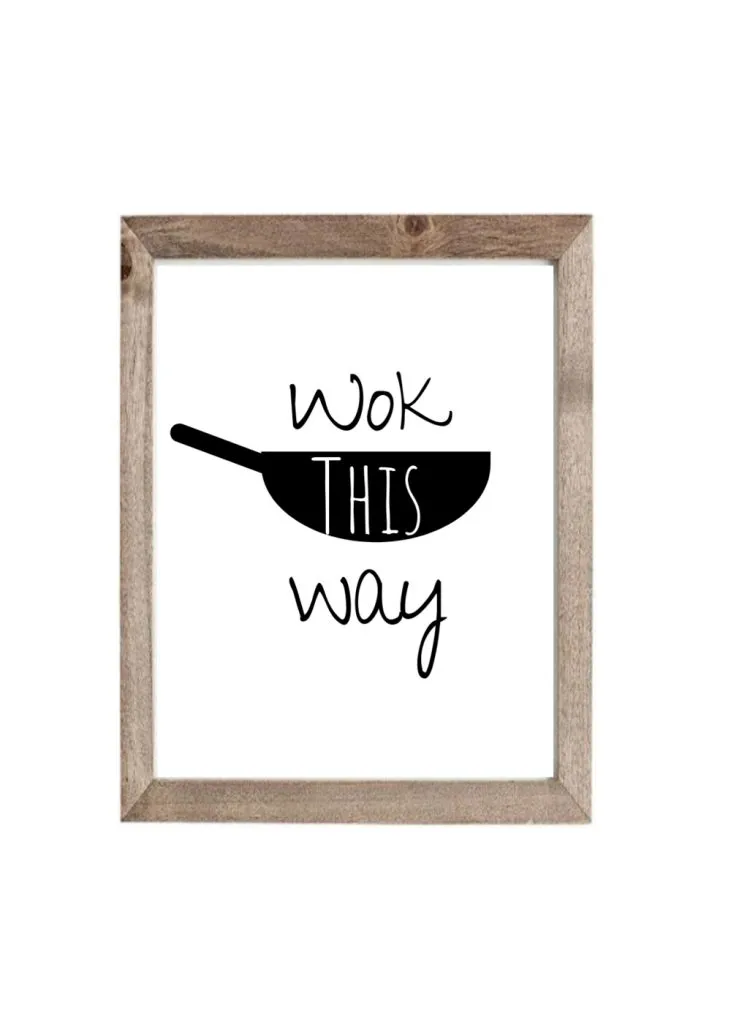
Infuse humor and personality into your kitchen with quirky quote signs. Select humorous or lighthearted quotes related to food, cooking, or family gatherings. You can use various materials, from wood to canvas. Use creative fonts and layouts to make the signs visually appealing. Consider using bold colors and unexpected design elements to capture attention and reflect your personal style. The goal is to bring a smile to your face and your guests’ faces every time they look at it.
Functional Herb Garden Signs
For those who grow herbs, creating signs to label your herb garden is practical and stylish. Use small wooden planks, ceramic tiles, or even repurposed materials like spoons as the base. Write or paint the names of your herbs on the signs. Add decorative elements like small illustrations of the herbs or use plant markers with decorative lettering. These signs not only help you identify your herbs but also add a touch of rustic charm to your kitchen or garden area. Make sure the font is easy to read, and the design is weather-resistant if placed outdoors.
Vintage-Inspired Kitchen Signs

Embrace a vintage aesthetic by creating signs that evoke nostalgia. Use distressed wood and antique-looking fonts. Incorporate images or quotes reminiscent of classic advertisements or retro kitchen decor. Source vintage images online or from old cookbooks. You can transfer these images onto the wood or paint them freehand. Adding elements like vintage-style frames or hooks enhances the aged look. Consider using muted colors and a worn finish to fully capture the vintage feel.
Whimsical Typography Signs
Experiment with typography to create signs that are both visually appealing and informative. Choose a word related to food, such as ‘Coffee’, ‘Eat’, or a cooking term. Use a bold or unusual font to make the word stand out. You can paint the word on a canvas, wooden board, or even a metal sheet. Incorporate decorative elements, like colorful patterns or illustrations, to enhance the visual interest. This approach allows you to play with different font styles and layouts to create a sign that fits your kitchen decor.
Personalized Family Name Signs
Welcome guests and celebrate your family with a personalized sign. Include your family name or a special quote that reflects your family values. Use a wooden board as the base and add the lettering using stencils, vinyl, or freehand painting. Consider adding the family’s established date or a unique design that represents your family. These signs serve as a focal point and a warm reminder of your family’s bond. Select a font that reflects your family’s style, whether traditional, modern, or whimsical.
Seasonal and Holiday-Themed Signs

Create signs that reflect the current season or upcoming holidays. Design signs for fall, with phrases like ‘Give Thanks’ or autumnal images, or for the winter holidays, with festive messages. You can use different colors, fonts, and decorations to match the theme of each holiday. These signs can be changed out regularly to keep your kitchen decor fresh and seasonally relevant. For example, for the summer, consider signs that reflect outdoor grilling and summer gatherings.
Budget-Friendly Sign Options
DIY kitchen decor doesn’t have to be expensive. Look for budget-friendly materials like reclaimed wood, old canvases, or even repurposed items. Use inexpensive paint, stencils, and free online resources for design inspiration. For example, you can reuse old cutting boards and add a quote or phrase using a stencil and paint. Repurposing materials keeps the cost low and adds unique character to your signs. Creativity and resourcefulness are key to creating beautiful signs on a budget.
Creating Your DIY Kitchen Decor Signs Step-by-Step
Designing Your Signs

Begin by sketching your sign designs. Consider the size, shape, and overall layout. Choose the quote, phrase, or image that you want to feature on your sign. Experiment with different fonts and arrangements. Use graph paper or digital design tools to visualize the final product. Decide on the color palette and the materials you will use. Once you have finalized your design, create a template if needed. This template will guide you through the rest of the project, ensuring accuracy and consistency in your design.
Cutting and Preparing Materials
If you’re using wood, measure and cut it to your desired size. Sand the edges and surface of the wood to ensure a smooth finish. If you’re using metal, clean the surface thoroughly. If you are using a canvas, make sure it’s stretched properly. Apply a primer to the wood or canvas if necessary, especially if the surface is porous or you are using light-colored paint. Let the primer dry completely before proceeding with the painting or design process.
Painting and Decorating Techniques
Apply your base coat of paint, using a brush, roller, or spray paint, depending on your preference. Let the paint dry thoroughly. If using stencils, carefully position them on the surface and secure them with tape. Use a stencil brush or sponge to apply the paint. For hand-painted designs, practice your lettering or illustration skills. If using vinyl lettering, apply it to the surface. Once the design is complete, let the paint dry completely. If the design requires multiple layers or colors, ensure each layer is dried before adding the next.
Adding Text and Quotes
Use stencils, freehand painting, or vinyl lettering to add text to your sign. If using stencils, choose a font that complements your design. Secure the stencil in place and use a stencil brush or sponge to apply the paint. When hand-painting, practice your lettering on a piece of paper before painting on the sign. If using vinyl lettering, carefully peel and apply the vinyl to the surface, smoothing out any bubbles. Ensure the text is aligned properly and the spacing is even. Once the text is in place, you can add decorative elements or accents to enhance your sign.
Displaying Your DIY Kitchen Decor Signs
Placement and Arrangement Ideas
Consider the layout and arrangement of your signs. Hang them above your kitchen cabinets, on empty wall space, or on shelves. Group multiple signs together to create a cohesive look, or place them individually to draw attention to specific areas. You can also lean signs against the backsplash or the countertop. Make sure the signs complement the existing kitchen decor and don’t obstruct the view or interfere with the functionality of the kitchen. Evaluate your options and choose the placement that best enhances the overall aesthetic of your kitchen.
Maintaining and Updating Your Signs
To keep your signs looking their best, dust them regularly. If the signs are made of wood, you may want to apply a protective sealant. For chalkboard signs, erase the chalk and re-chalk as needed. Consider updating your signs with new quotes, designs, or themes based on the season or occasion. You can easily refresh the look by changing the colors, adding new elements, or replacing old signs. This ensures your kitchen decor signs stay current and reflect your evolving style.